How to Create an Indoor Herb Garden: Step-by-Step Guide
Creating an indoor herb garden is a rewarding and enjoyable endeavor that brings fresh flavors to your cooking, enhances your home decor, and offers a delightful hobby. Whether you’re a culinary novice or an experienced chef, growing your own herbs ensures you have fresh ingredients at your fingertips. In this guide, we’ll walk you through the step-by-step process of creating an indoor herb garden.
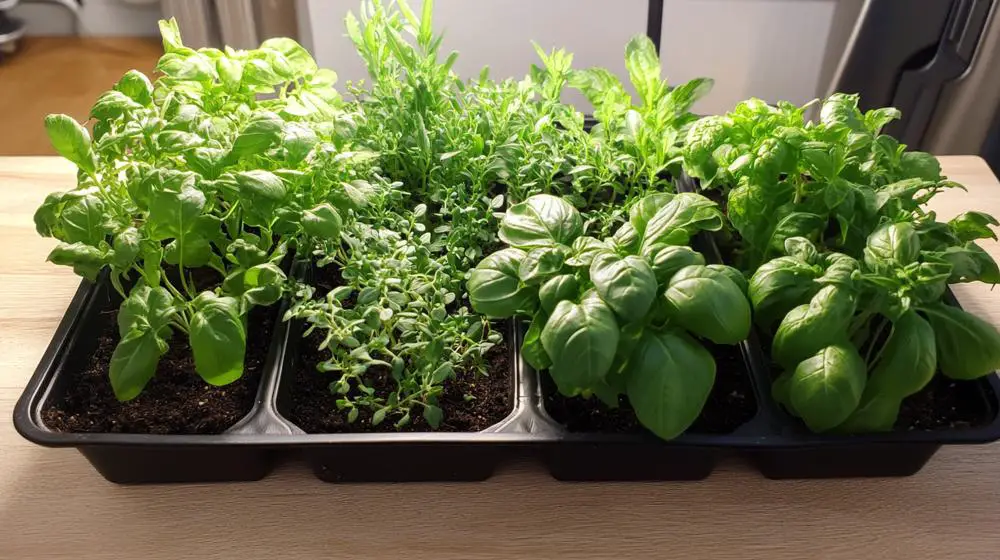
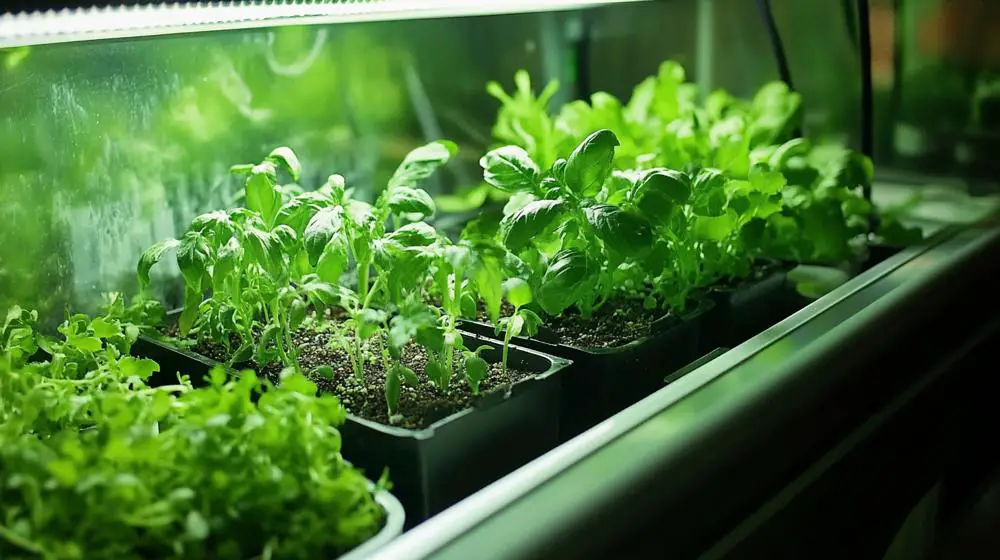
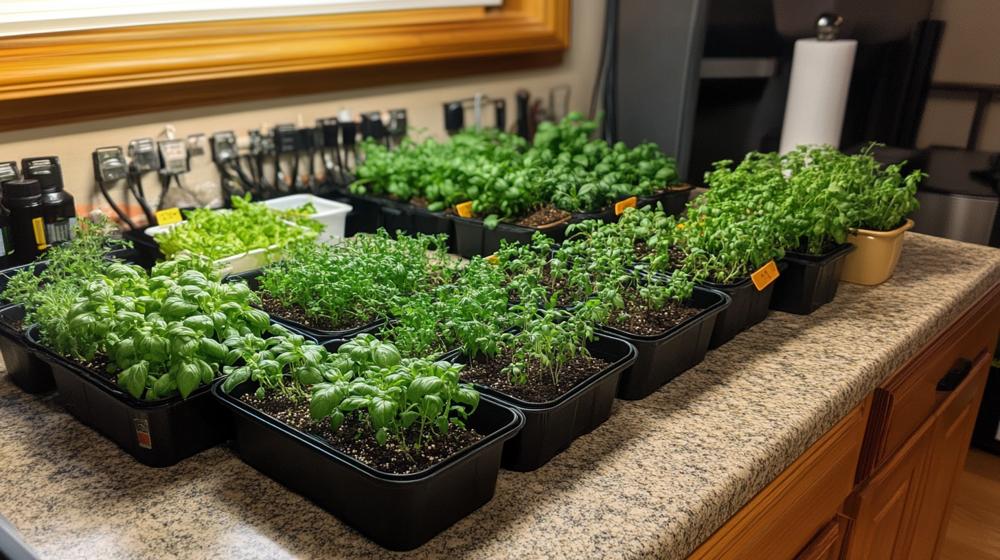
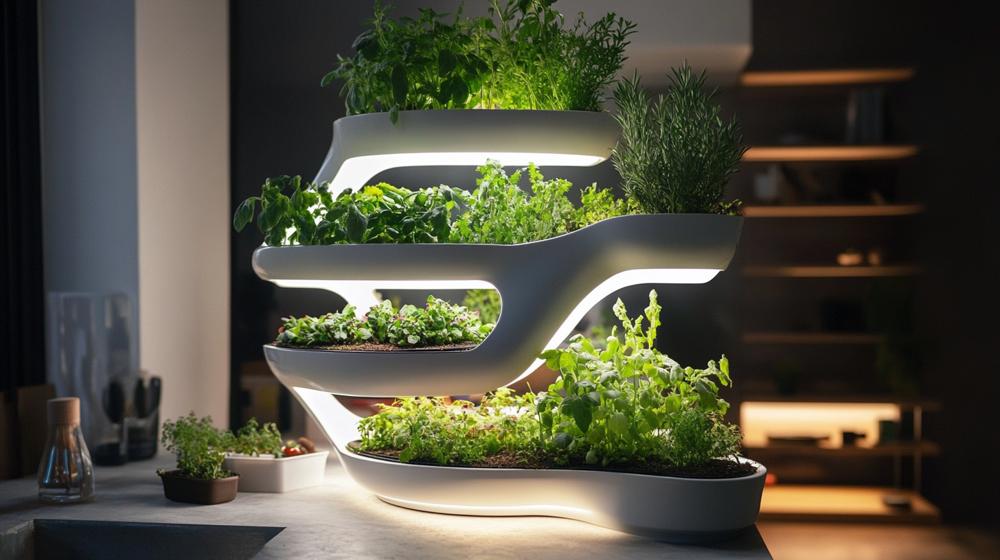
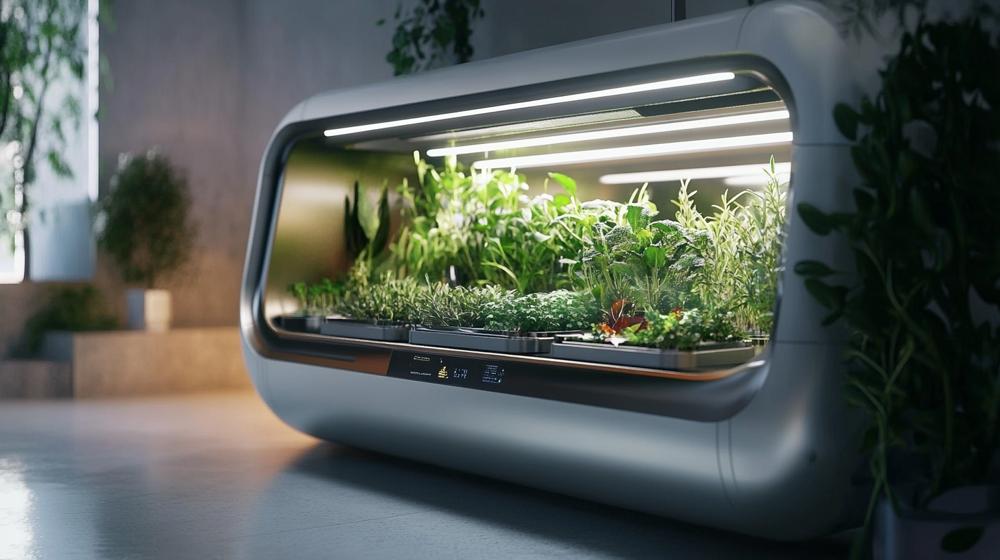
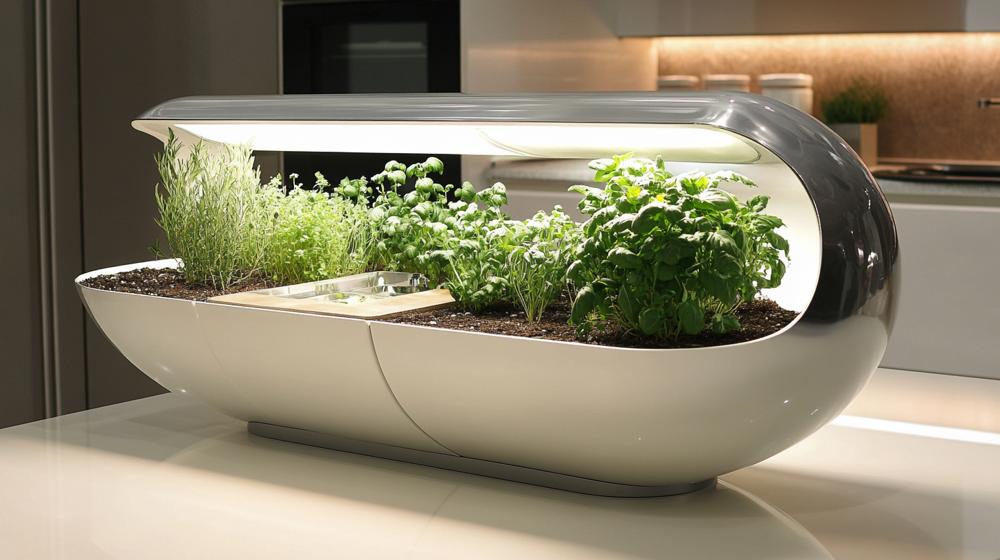
Real Life Indoor Herb Gardens
Click on an image to view them better.


Why Grow Herbs Indoors?
Growing herbs indoors has numerous advantages:
- Freshness: There’s nothing like using freshly picked herbs in your dishes.
- Convenience: Having herbs readily available right in your kitchen makes meal preparation easier.
- Cost-effective: Purchasing herbs can add up, but growing them yourself saves you money in the long run.
- Aesthetic Appeal: Indoor plants enhance your living space, adding color and life to any area.
- Air Purification: Many herbs can help purify the air in your home.
Choosing the Right Herbs
The first step in creating your indoor herb garden is selecting the right herbs for your space and culinary preferences. Some of the most popular indoor herbs include:
- Basil: Great for Italian dishes and pesto.
- Mint: Perfect for teas, desserts, and cocktails.
- Parsley: A versatile herb that complements many dishes.
- Cilantro: Essential for Mexican and Asian cuisines.
- Thyme: A fragrant herb ideal for soups and meats.
- Chives: Adds a delicate onion flavor.
When choosing herbs, consider factors such as taste, ease of growth, and their light requirements.
Gathering Supplies
Before you start planting, gather all necessary supplies:
- Containers: Choose pots with drainage holes. The size will depend on the type of herbs you choose; smaller pots work for smaller herbs like chives, while larger pots are suitable for more extensive plants like basil.
- Potting Soil: Use a high-quality potting mix designed for containers to ensure proper drainage and nutrient retention.
- Seeds or Seedlings: Decide whether you want to start from seeds or purchase seedlings from a nursery.
- Watering Can/Spray Bottle: For keeping your herbs hydrated without overwatering.
- Labels: To keep track of different herbs if you’re planting multiple varieties.
- Light Source: If natural light is limited, consider grow lights to supplement sunlight.
Step 1: Prepare Your Containers
Start by preparing your containers for planting:
- Ensure that each pot has drainage holes to prevent waterlogging, which can lead to root rot.
- If necessary, place small stones or coffee filters at the bottom of the pot to improve drainage.
- Fill each container with potting soil, leaving about an inch of space at the top to avoid spilling when watering.
Step 2: Plant Your Herbs
Depending on whether you’re using seeds or seedlings, follow these guidelines:
Seeds
- Read the seed packet instructions for specific planting depth and spacing guidelines.
- Make small holes in the soil with your finger or a pencil, then place one or two seeds in each hole.
- Cover lightly with soil and water gently to moisten.
Seedlings
- Gently remove seedlings from their nursery containers, being careful not to damage the roots.
- Dig a small hole in the soil of your prepared pot and place the seedling inside.
- Fill around the roots with soil and gently pat down to eliminate air pockets.
- Water thoroughly after planting to help settle the soil around the roots.
Step 3: Position Your Herb Garden
Finding the right spot for your indoor herb garden is crucial:
- Light Requirements: Most herbs require at least 6 hours of sunlight daily. Place them near south-facing windows if possible, where they can receive bright light throughout the day.
- Temperature: Herbs generally prefer temperatures between 65°F and 75°F (18°C – 24°C). Avoid placing them near drafts or heat sources like radiators.
- If natural light is insufficient, consider using LED grow lights positioned about 12 inches above the plants for about 12-16 hours per day.
Step 4: Watering Your Herbs
Proper watering is essential for healthy herb growth:
- Check the moisture level of the soil by sticking your finger about an inch deep into it—if it feels dry, it’s time to water.
- Water thoroughly until excess drains from the bottom of the pot; ensure you do not let herbs sit in standing water as this can promote rot.
- Adjust your watering schedule based on environmental factors such as humidity and temperature—herbs may require more frequent watering during hot months.
Step 5: Fertilizing Your Herbs
To encourage healthy growth, consider fertilizing your indoor herbs:
- Use a balanced liquid fertilizer diluted to half strength every four to six weeks during the growing season (spring through early fall).
- Avoid over-fertilizing as this can lead to weak growth and diminished flavor.
- Stop fertilizing during winter when most herbs enter dormancy unless you’re using grow lights that mimic spring conditions.
Step 6: Pruning and Harvesting
Regular pruning encourages fuller growth and helps prevent leggy plants:
- When your herbs reach about 6 inches tall, start harvesting by snipping off leaves or branches just above a leaf node (where leaves sprout).
- Take care not to remove more than one-third of the plant at once to ensure it continues growing vigorously.
- Regularly removing flowers (if any appear) will also keep energy focused on leaf production rather than seed formation.
Troubleshooting Common Issues
As with any gardening endeavor, you may encounter some challenges along the way:
- Pests: Watch out for aphids, spider mites, and whiteflies that may infest your herbs. Use insecticidal soap or neem oil if needed.
- Diseases: Fungal diseases can arise from overwatering or poor airflow; ensure good drainage and avoid water on leaves during watering.
- Legginess: If your plants are stretching towards light and becoming leggy, they may need more light exposure—consider moving them closer to a window or adding grow lights.
Conclusion
Creating an indoor herb garden is an easy project that can significantly enhance both your culinary experience and home environment. By following these steps—choosing suitable herbs, gathering supplies, preparing containers, planting carefully, positioning wisely, watering appropriately, and maintaining through pruning—you’ll enjoy fresh flavors all year round! With time and patience, you’ll have a thriving indoor garden that not only adds beauty to your space but also elevates your cooking game! Happy gardening!